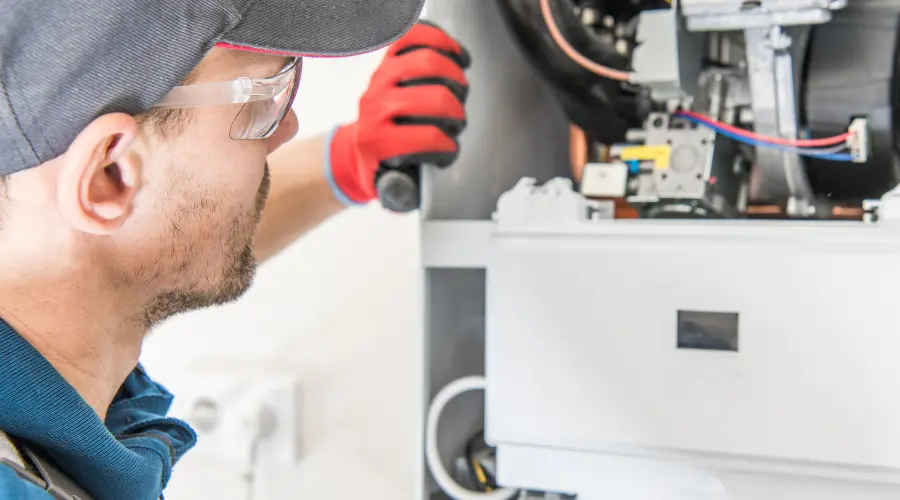
With autumn’s chill in the air, it’s the perfect time to ensure your water heater is in top shape. These DIY maintenance tips can extend your water heater’s life and improve performance all season.
Key Takeaways:
- Flush Your Water Heater Tank: Essential for tank-based heaters; prevents sediment buildup and increases efficiency.
- Adjust the Thermostat: Lowering by 10 degrees can save energy without sacrificing comfort.
- Test the TPR Valve: Ensures safe pressure levels; crucial for preventing dangerous over-pressurization.
- Regular Inspection and Pro Maintenance: A professional check-up every few years keeps your system safe and efficient.
1. Flush the Water Heater’s Tank
If you own a tank-based water heater, it’s crucial to flush it annually, and fall is an ideal time. Tank-based heaters accumulate sediment over time, clogging the system, reducing heating efficiency, and increasing energy costs.
Steps to Flush Your Water Heater Tank:
- Turn off the Power: First, switch off the water heater’s power supply. Electric heaters should be turned off at the circuit breaker, while gas heaters should have the gas valve set to “pilot.”
- Close the Cold Water Valve: This valve supplies cold water to the tank. Turning it off prevents more water from entering as you drain it.
- Allow the Water to Cool: Let the water sit for a few hours if the tank has recently been used.
- Connect a Hose to the Drain Valve:Find the tank’s bottom drain valve and connect a garden hose to it. Place the other end of the hose in a large bucket or a nearby floor drain.
- Turn on Hot Water Faucets in the House: This helps release pressure from the system.
- Drain the Tank: The drain valve should be opened to allow water flow through the hose. Any sediment inside the tank should flow out along with the water.
- Refill and Restart: After draining, closethe cold water valve, open the drain valve, and let the tank to refill. Once complete, turn the power back on.
Note: If the drained water seems abnormally nasty or full of particles, think about arranging for a professional check.
2. Lower the Thermostat Setting
Turning the thermostat up is tempting as the days get colder, but lowering it by 10 degrees helps reduce energy costs. The Department of Energy recommends a setting between 120°F and 140°F for efficiency and safety.
Benefits of Lowering the Thermostat:
- Lower Energy Bills: Slightly reducing the temperature can result in noticeable savings during the cooler months when hot water usage typically increases.
- Avoid Burns and Scalds: This is especially important if you have children or elderly family members at home, as water above 140°F can scald.
Tip: Many water heaters come preset at 140°F, so adjusting to 120°F should offer plenty of warmth while energy-efficient.
Test the TPR Valve (Temperature and Pressure ReliefThe valve
One essential safety component is the TPR valve. designed to release pressure if it becomes too high. Without a functioning TPR valve, pressure can build up to dangerous levels, potentially causing the tank to explode.
How to Test Your TPR Valve:
- Locate the Valve: It is typically found on the top or side of the water heater, near the top of the tank.
- Lift the Valve Lever: Carefully lift the lever partway and listen for water rushing out. It should be released into the attached discharge pipe.
- Check for Flow: If no water flows, the valve may be blocked or malfunctioning. In this case, it’s best to contact a professional plumber immediately.
Warning: Don’t ignore any issues with the TPR valve, as it’s a crucial safety mechanism.
3. Insulate the Heater and Pipes
Adding insulation to the heater and exposed pipes can prevent heat loss, leading to energy savings and faster hot water access.
Steps for Insulation:
- For the Water Heater: Use a water heater blanket specifically designed for this purpose. Cut out holes for vents, access panels, and controls.
- For Pipes: Wrap any exposed hot water pipes with foam pipe insulation. This is especially useful for pipes in unheated areas like basements or garages.
Note: Additional insulation is less essential for those with a tankless heater since no large tank stores heated water.
4. Inspect for Leaks
Look for any indications of leakage around the water heater as even minor leaks can lead to water damage and mold growth.
Where to Look for Leaks:
- Around Fittings and Connections: Examine all connections, especially around the top of the heater.
- Tank Base: Small puddles or dampness may signal a leak within the tank.
If you detect any signs of a leak, it’s essential to address it quickly. Contact a professional if the issue involves the tank, as internal leaks typically require replacement.
FAQ: Common Questions About Water Heater Maintenance
Q1: How often should I perform maintenance on my water heater?
A: Basic DIY maintenance, like flushing and inspecting, can be done once a year, ideally in the fall. For optimal performance, a professional inspection is recommended every two to three years.
Q2: Can I do all maintenance steps myself?
A: While many steps are simple, testing the TPR valve or replacing worn parts may require a professional. Always consult the user manual for safety guidelines.
Q3: How can I tell if my water heater needs replacing instead of repairing?
A: If your water heater is over 10-15 years old, or you’re experiencing frequent issues like rusty water or a loss of hot water, it might be time for a replacement.
Q4: Why does the water from my heater look rusty?
A: Rusty water can indicate tank corrosion, especially in older heaters. A professional can assess whether replacing the anode rod or the heater is necessary.
Q5: How can I reduce energy costs associated with my water heater?
A: Lower the thermostat setting, insulate the tank and pipes, and consider upgrading to a more energy-efficient model if your current heater is aging.
Contact Us for More Water Heater Assistance
If your DIY maintenance doesn’t solve all your issues, or if you’d prefer expert assistance, don’t hesitate to contact BJC Plumbing. Our skilled plumbers are here to ensure your water heater is reliable and ready to handle the fall and winter months.


